Creator guide

Uploading Avatars And Items

Upload avatar models, clothing, accessories, and scene content so they can be used in the Avatar Editor or Scene Editor.

Wiki / Uploads

Before Uploading

Prepare your files before opening the upload flow. Use clear names, remove test files, and make sure you have permission to upload every model, texture, image, sound, or other asset included.

Download the official avatar skeleton

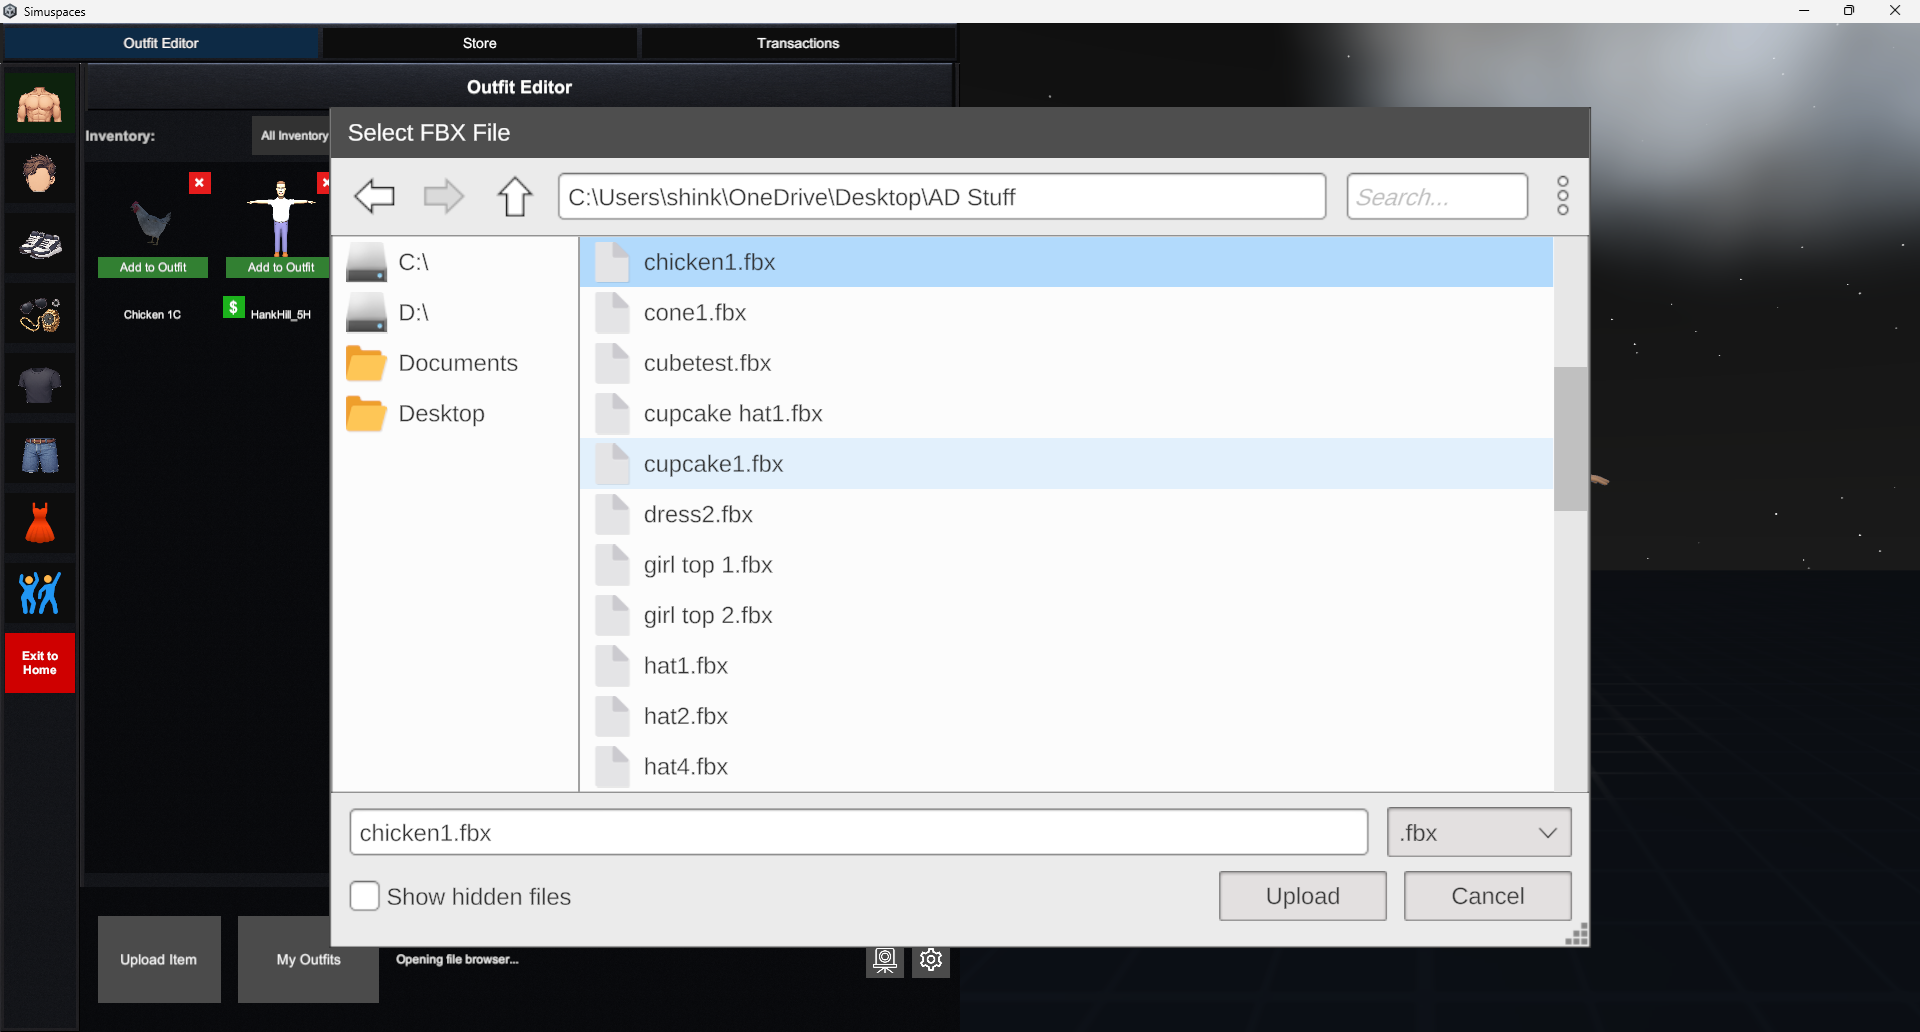
Use Simuspaces Skeleton.fbx as the rig target for avatars and clothing. The same skeleton is used across Simuspaces so uploaded bodies and wearable clothing can work together correctly.

Download Simuspaces Skeleton.fbx

Avatar

A full character model or avatar base intended for the Avatar Editor.

Clothing

Wearable items such as shirts, pants, jackets, shoes, gloves, or similar outfit pieces. Clothing uploads must be bound to the Simuspaces skeleton.

Accessories

Attachable items such as hats, glasses, props, jewelry, or handheld objects. Accessories do not have to be rigged, but they may include their own skeleton for Dynamic Bone setups like tails, hair, capes, or other secondary motion.

Scene Items

Objects intended for placement inside worlds through the Scene Editor.

Skeleton And Bounds Requirements

  • Avatars must be rigged and weighted to Simuspaces Skeleton.fbx before upload.
  • Clothing must be bound to the Simuspaces skeleton. Clothing weights are driven from the avatar during use, so a clean quick bind is usually enough as long as the item follows the body correctly.
  • Accessories are different: they can be static and unrigged, or they can use their own skeleton when they need Dynamic Bone motion.
  • Avatars, clothing, and accessories must fit inside the AABB box. In Avatar Editor, open the gear settings icon and enable the AABB box preview to check the upload bounds.
  • If the avatar deforms correctly on the official skeleton and stays inside the AABB box, it is in the expected shape for upload.

Scene Editor - Upload Flow

  1. For the scene editor, use the IMPORT button on the inventory tray at the bottom center of the UI in this area
  2. Choose the item type you are uploading.
  3. Select the source file or package from your computer.
  4. Wait for validation and for the item to appear in your inventory tray.
Upload item type selection screenshot placeholder

Avatar Editor - Upload Flow

  • Select the category for the item type, Avatar/Body, Top/Shirt, Bottom/Pants, Dresses/Robes, Accessories, etc.
  • Use the official skeleton download above for avatar and clothing rigging work.
  • With accessories, rigging is optional. Rig them only when they need their own animated or Dynamic Bone setup.
  • Before submitting, use the gear settings icon in Avatar Editor to turn on the AABB box and confirm the avatar, clothing item, or accessory stays within the accepted bounds.
  • Only upload content you created, licensed, or have permission to use.
Upload validation preview screenshot placeholder